The short version
Four steps and about two minutes. Pick your trade so the lines arrive filled in, add the client, edit the quantities and rates, then export. The document on the right updates as you type, and the file you download is the document you were looking at.
Step 1: pick your trade
The first card asks what you do. This is the only field that changes the rest of the form, because the line items below arrive filled with the work that trade usually bills for, in the units it bills in.
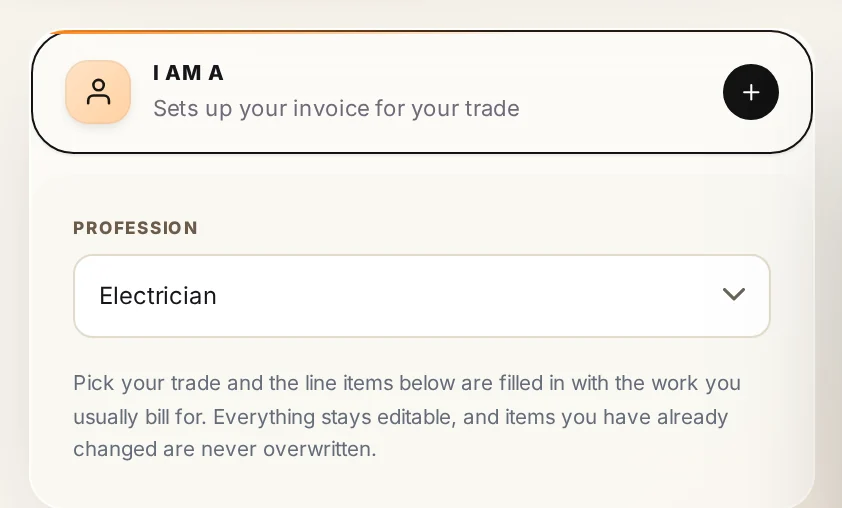
There are 46 trades on the list. Nothing is locked afterwards: every line stays editable, and anything you have already changed by hand is never overwritten when a preset loads. If your trade is not listed, pick the closest one or leave it as general business and write the lines yourself.
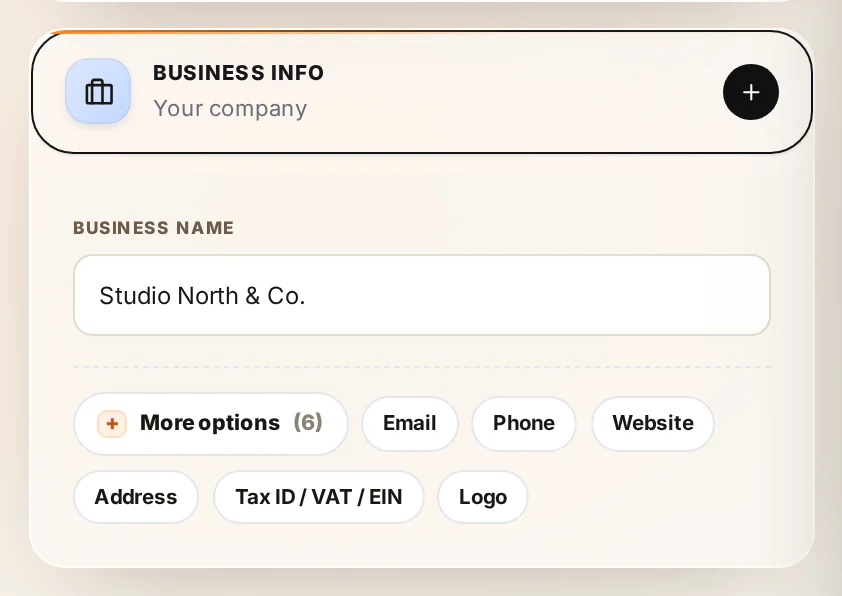
Underneath it, the business card takes your name and the details that head the document. The extras sit behind a More options row so the form stays short: email, phone, website, address, tax ID and your logo.
Step 2: add the client
Next is who the invoice is going to. The name is what appears on the document, so use the client's legal or trading name rather than the name of the person you deal with, or a large client's accounts system will not match it.
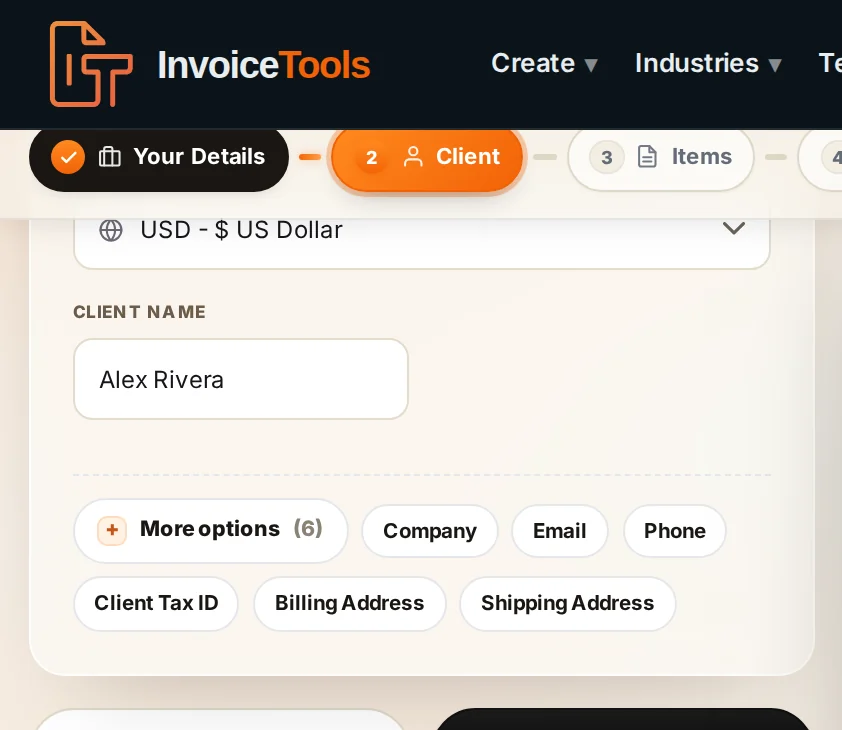
Two fields here are worth filling even though they look optional. If the client uses purchase orders, put their PO number on the invoice; it is the most common reason an invoice sits untouched in a big company's system. And a separate shipping address matters when goods go somewhere other than the billing address.
Step 3: the lines, the dates and the terms
This is where most of the work happens, and where the trade preset has already done some of it for you. Each line has a description, a quantity, a rate, an optional discount and an optional tax rate, and the line total updates as you type.
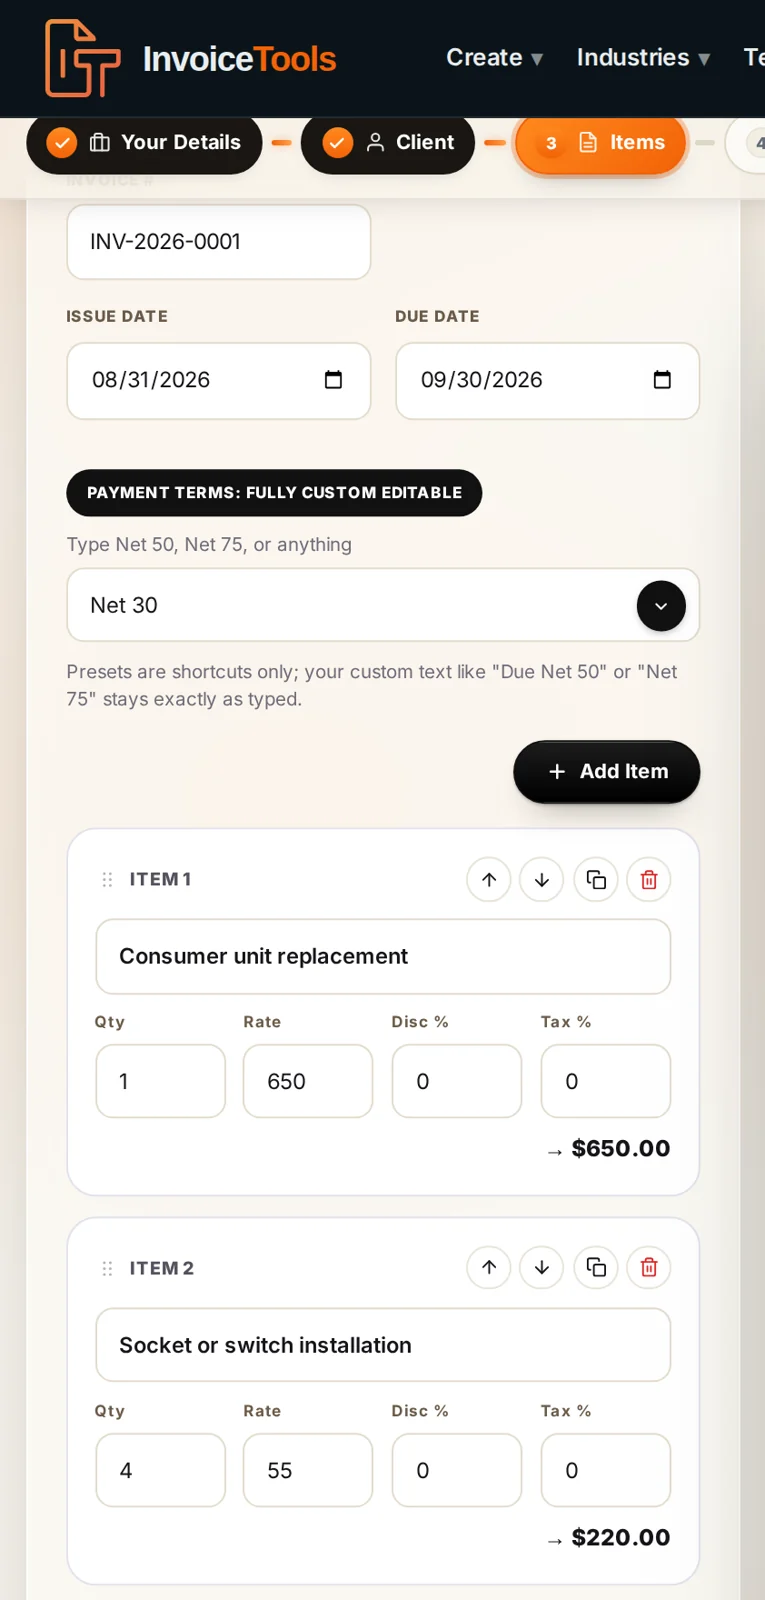
Above the lines: the invoice number and the two dates. The number is suggested in a sequential format and you can overwrite it with your own scheme. The due date is calculated from the terms you choose, and the terms field takes anything you type, so Net 50 or Due on completion works as well as the presets.
A few habits that save arguments later. Name the work in the client's language rather than yours. Keep pass-through costs, such as a permit fee, on their own line at cost. And put the quantity on the line rather than folding three doors into one figure, so a client who queries one item does not hold up the whole invoice.
Step 4: check the document, then export
The document on the right is the file. It is the same layout that prints, so if it looks right on screen it looks right in the PDF.
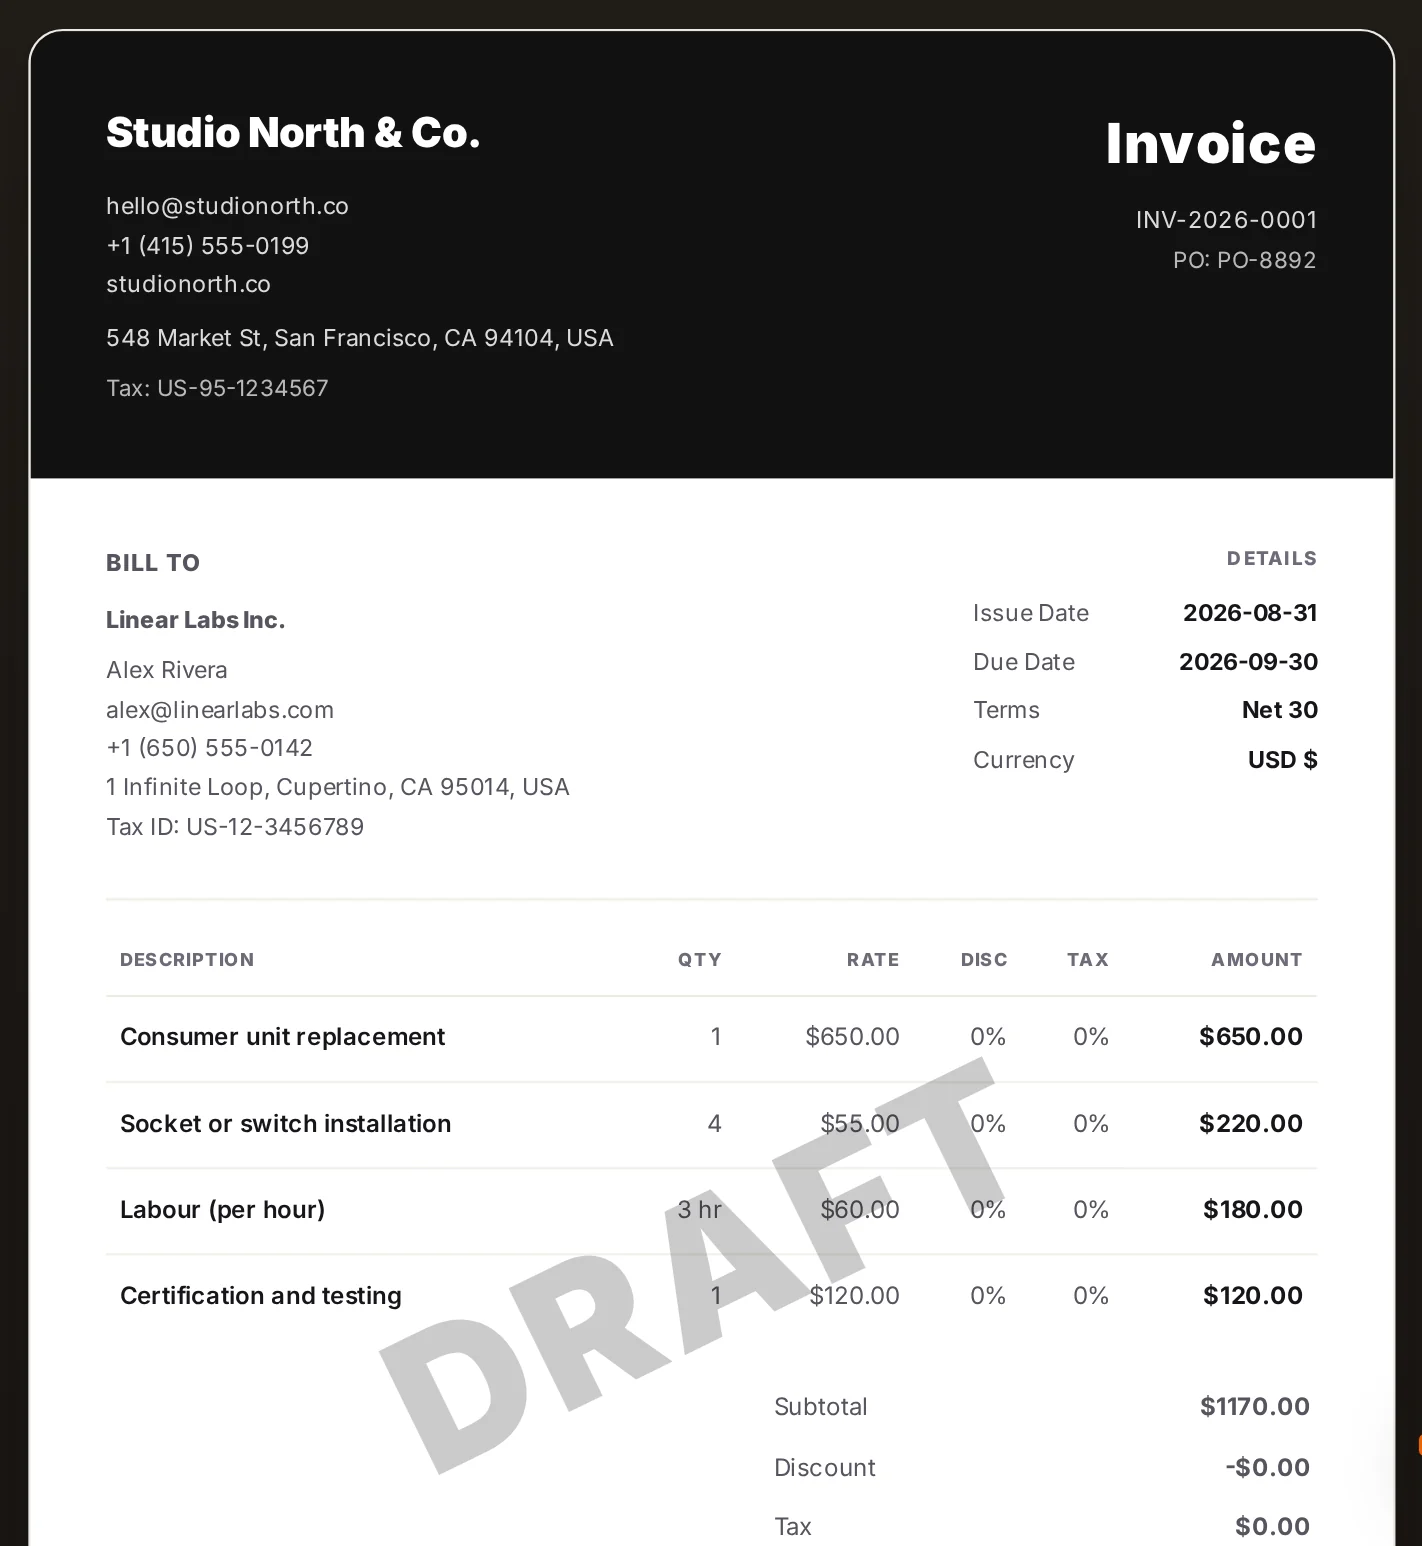
Read the totals before you send. Subtotal, then any discount, then tax, then the amount due. Then export: PDF for email, PNG for a message thread, or Print, which on most machines gives the sharpest, selectable file through Save as PDF.
Two things worth adding before you send it. A payment link with the amount and the invoice number already filled in, from the payment link generator, so paying takes one tap instead of a bank login. And your terms, written as a date rather than a phrase, which is covered in the payment terms guide.
Starting from a photo or a sentence
If the details are already written down somewhere, the AI box at the top of the page will read them. Describe the job in a sentence, paste an email, or photograph a job sheet, and it fills the fields it can find and tells you which ones are still missing.
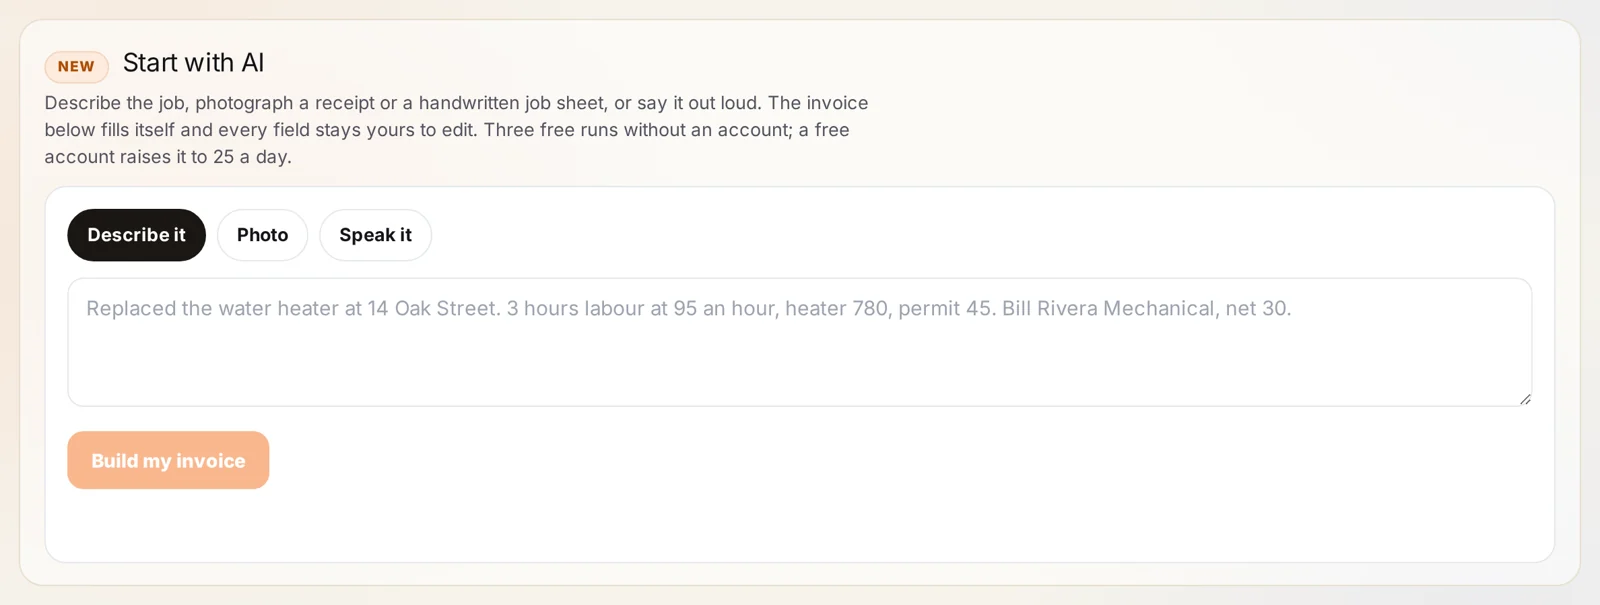
It fills a draft rather than a finished invoice. Read every field it touched, especially the amounts and the client name, before the document goes anywhere.
When the job is bigger than one invoice
A long job usually needs more than a single invoice at the end. Take a deposit before the work starts, bill the stages as they are reached with progress billing, and write any extra the client asks for as a change order before you do it.
The tools for this
More guides
- Progress billing: format and exampleHow to bill a job in stages: the schedule of values, a worked progress invoice with retainage, pay applications and AIA forms, and the quote wording that gets each stage paid.
- How to chase an unpaid invoiceWhat to do when a client is not paying: the day-one reminder email, the day-seven call, the overdue notice with the late fee, the final demand letter, then liens, small claims and collections.
- How to write a change orderWhen to write a change order, what goes on the form, how to price extra work including time and materials, keeping a log, and how an approved change reaches the invoice.
- Deposit invoice: how to bill a depositWhen to ask for a deposit, how much, deposit versus down payment versus retainer, the wording on the quote and the deposit invoice, and how the final invoice shows the balance due.
- How to number invoices: format and examplesAn invoice numbering system that never repeats or skips, format examples with a year or job prefix, separate series for quotes and credit notes, and where the number goes on the invoice.
- How to add a payment link and QR code to an invoiceBuild a payment link for PayPal, Venmo, Cash App, Zelle or ACH, put the QR on the document, and pick the right method for the job.
- Quote to invoiceWhat goes on a quote, quote versus estimate, setting the deposit and validity, and converting the accepted quote into an invoice.
- Invoicing glossaryPlain definitions of the words on an invoice, a quote and a job, each with an example.
Common questions
How do I make an invoice online for free?
Open the invoice generator, pick your trade so the line items load, add your business and client details, edit the quantities and rates, then export a PDF. There is no signup, no watermark and no cap on how many you make.
Do I need an account to create an invoice?
No. The generator runs in your browser and nothing you type is sent anywhere. An account is optional and only adds saved clients and documents, delivery with open tracking, and an overview of what you are owed.
Can I make an invoice on my phone?
Yes. The generator runs in a phone browser with nothing to install. Fill in the fields, check the preview, then print or save it as a PDF from the same screen.
Can I add my logo and a signature?
Yes. The logo goes in the business card behind the More options row, and the signature in the branding step. Both appear in the preview straight away and come through in the export.
What if my trade is not on the list?
Pick the closest trade or leave it as general business and write the lines yourself. The preset only decides which lines load first; everything stays editable.
Which export should I use?
PDF to attach to an email, PNG for a message thread, and Print with Save as PDF when you want the sharpest, selectable file. All three produce the document you can see in the preview.
Is making an invoice the same as generating or creating one?
Yes. How to make an invoice, how to create an invoice and how to generate an invoice are the same question with different verbs, and the answer is the same six things on one page: who you are, who they are, what was done, what it costs, when it is due and how to pay. Making an invoice by hand in a spreadsheet and generating one with the free generator produce the same document; the generator just does the arithmetic and the numbering for you.
What should an invoice include?
Your business name and contact details, the client's name and address, a unique invoice number, the invoice date, each item with its quantity, rate and amount, the subtotal, any discount and tax, the total due, the due date and how to pay. Add the client's PO number if they gave you one.
What this is. A guide and template written by James Carter. It is not legal advice. Deposit, cancellation and late fee rules differ by state, so have any wording you rely on checked for your state before it goes on a real document.
Last reviewed by InvoiceTools, Houston, Texas, on 23 August 2026.